
IntelliJ IDEA lets you use Maven build profiles which can help you customize builds for a particular environment, for example, production or development.
Declaring Maven profiles
IntelliJ IDEA lets you declare profiles explicitly in the POM of your project. Using code completion, you can place a number of different configurations inside the profiles tags and override default configurations specified in your POM for Maven plugins, dependencies, repositories, etc.
Open your POM in the editor.
Specify the 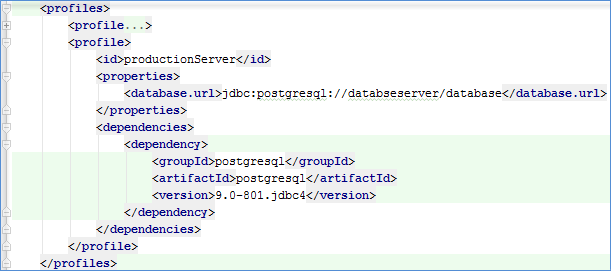
IntelliJ IDEA displays them in the Profiles list of the Maven Projects tool window.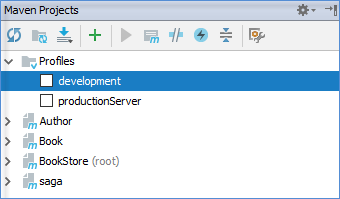
Alternatively, you can declare profiles using one of the following ways:
You can define them locally in the Maven settings directory %USER_HOME%/.m2/settings.xml.
You can define them globally in the global Maven settings ${maven.home}/conf/settings.xml.
You can define them in the profile descriptor located in the project’s base directory (profiles.xml). Note that this option is not supported in Maven 3.0. Please see Maven 3 compatibility notes.
Activating Maven profiles
When IntelliJ IDEA imports a Maven project, it detects profiles and lets you activate them during importing.
- Start importing your Maven project.
In the Import from Maven page where IntelliJ IDEA displays the profiles, activate the ones you need.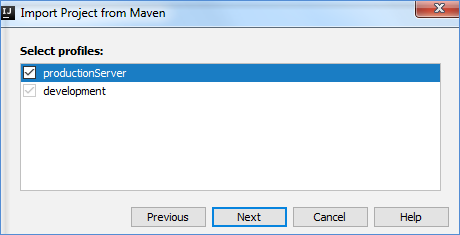
- Click Next and finish your import.
You can activate a profile manually in the Maven Projects tool window using a -P command or using the Profiles node and the corresponding profiles’ checkboxes.
Open the Maven Projects tool window.
On the toolbar, click the .
.
In the dialog that opens, in the Command line field, enter -P and the name of your profile. If you need to exclude certain profiles, specify ! in front of the name of the profile. The profile will be excluded even if it is activated by default. Click OK.
Alternatively, you can use Profiles node in the Maven Projects tool window to activate profiles.
Open the Maven Projects tool window.
Click the Profiles node to open a list of declared profiles.
Select the appropriate checkboxes to activate the profiles you need. You can have several active profiles. When they are activated, their configurations are merged based on the POM profile declaration.
You can also activate profiles automatically according to a range of contextual conditions for example, JDK version, OS name and version, presence or absence of a specific file or property, but you still need to specify all of the parameters inside your POM.
You can make a Maven profile to be activated automatically by default if you declare such profile with the activeByDefault tag in the POM.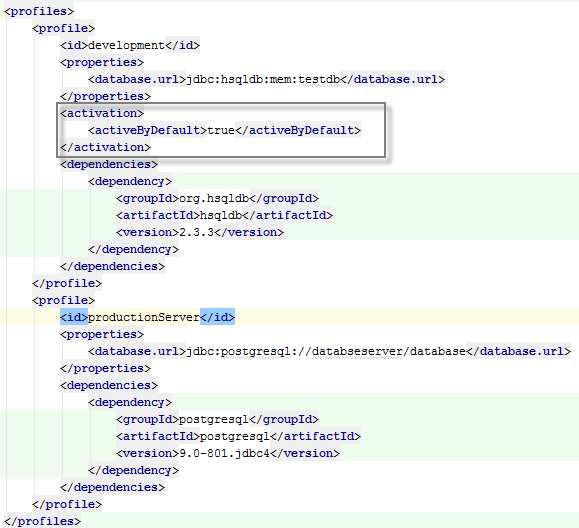
IntelliJ IDEA displays the activeByDefault profile in the Maven Projects tool window with the selected checkbox that is greyed out.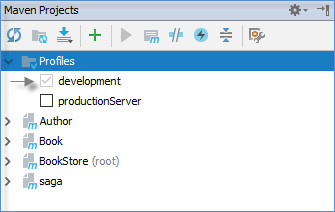
You can manually de-activate this profile by clicking the checkbox. Also note that if you manually activate any other profile, the activeByDefault profile will be de-activated.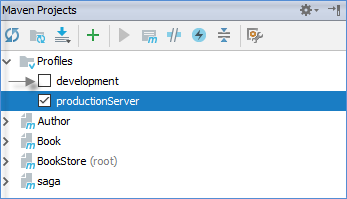
When you work with multi-module projects, keep in mind that if you specified the activeByDefaultprofile in your POM it will be de-activated when you manually activate any other profile even if it is declared in the POM of a different module.
参考IntelliJ Idea官方文档:(https://www.jetbrains.com/help/idea/2018.1/maven-support.html#use_profiles_maven)
Intelli IDEA中注意事项:
- 默认激活的profiles
默认激活的profile,对勾颜色显示为灰色,背景颜色为白色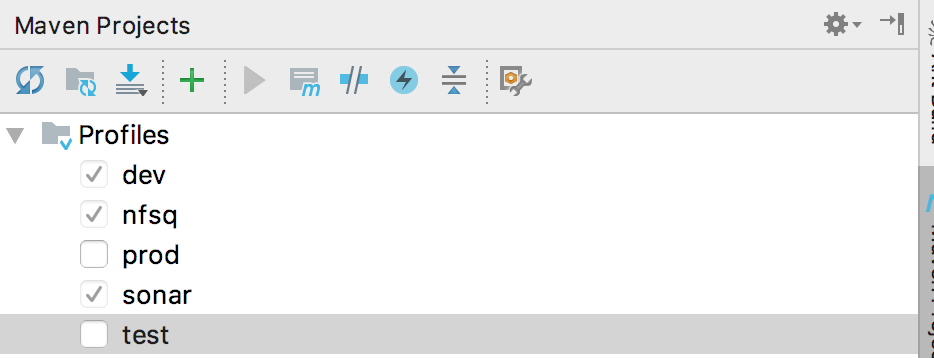
- 手动激活prod
手动激活的对勾背景颜色为蓝色,对勾为白色, 手动激活其他profile则会使pom.xml文件中通过<activeByDefault>true</activeByDefault>方式默认激活的profile失效。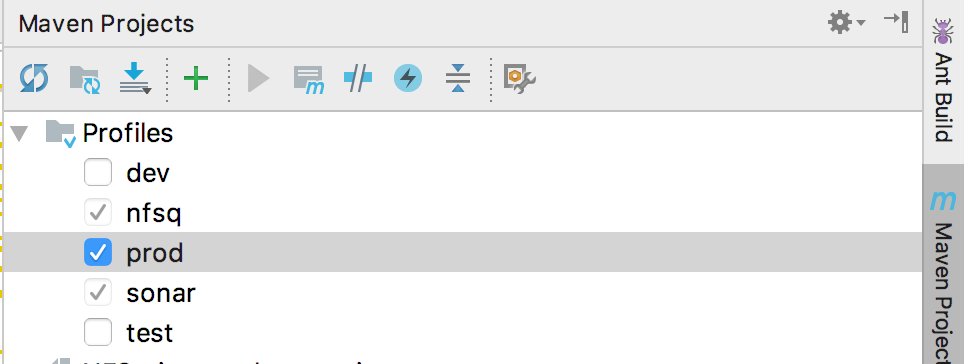


近期评论