
环境准备
-
Eclipse IDE
-
felix
http://mirrors.tuna.tsinghua.edu.cn/apache//felix/org.apache.felix.main.distribution-6.0.2.zip
新建工程
-
新建一个Java工程

-
将felix压缩包
org.apache.felix.main.distribution-6.0.2.zip中的conf、bundle以及bin(注意要将bin文件夹改名成lib避免与原工程文件夹重名)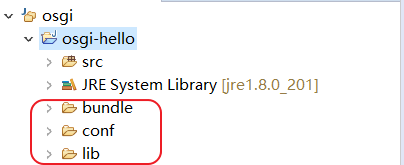
-
添加
Build Path将
lib中的felix.jar添加到工程中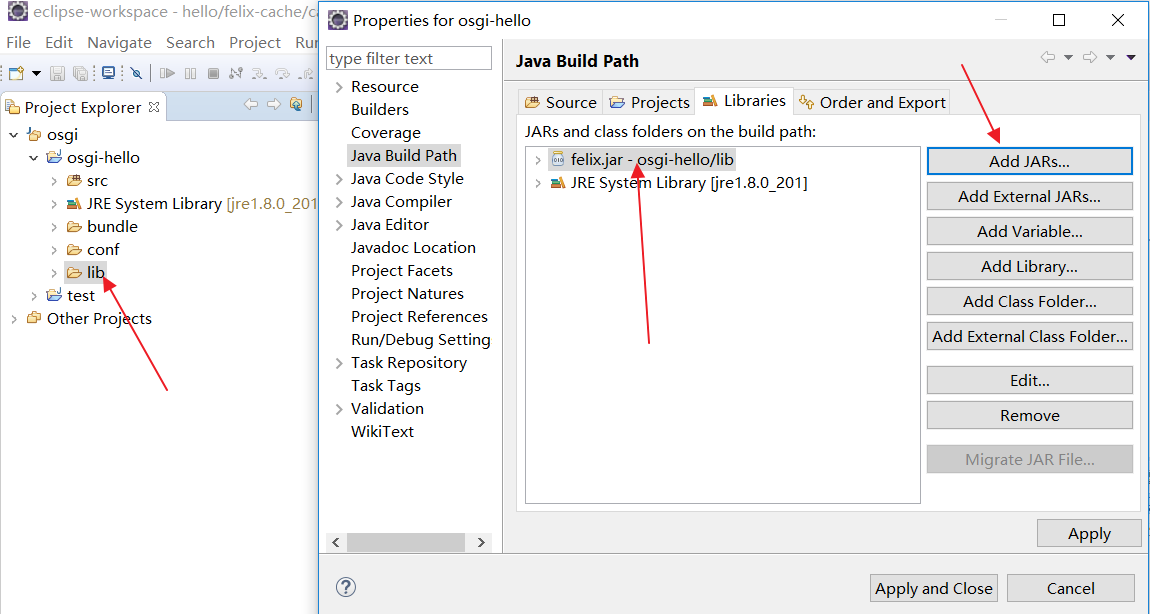
-
配置
Run Configuration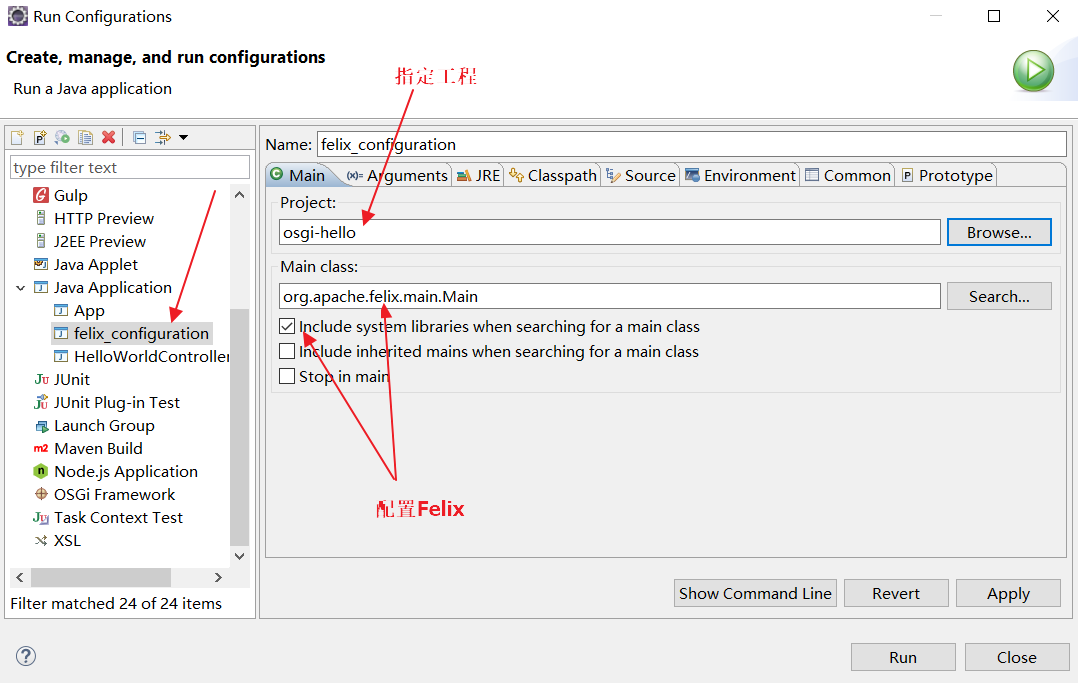
设置好后,点击Apply 然后点击Close即可
-
观察运行效果

-
错误原因分析
-
No config.properties found.: 这个是由于没有将felix中的conf文件夹复制到工程根目录 -
错误: 找不到或无法加载主类 org.apache.felix.main.Main: 这个原因是运行时找不到相应的jar,这个可能时在修改Run Configuration没有将felix.jar添加到Build Path中,可以修改(只要按照步骤操作不会出现此错误)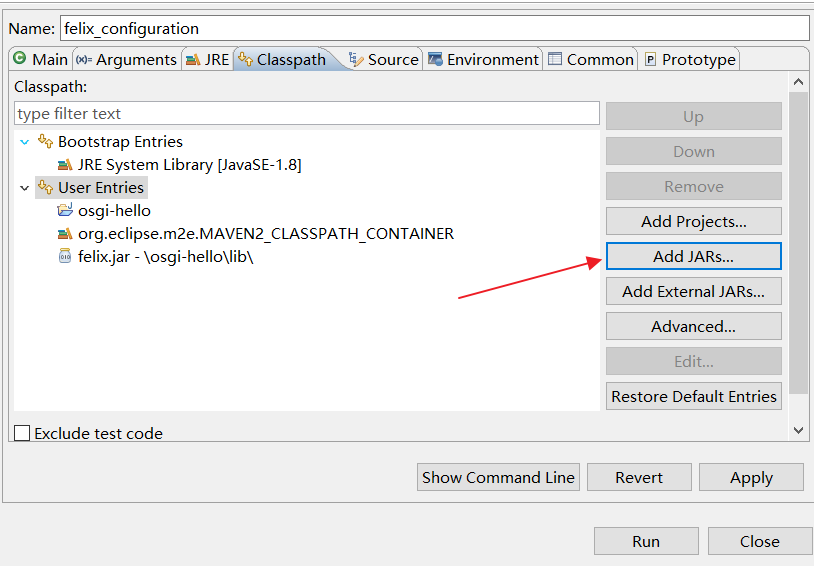
-
添加Hello World bundle
-
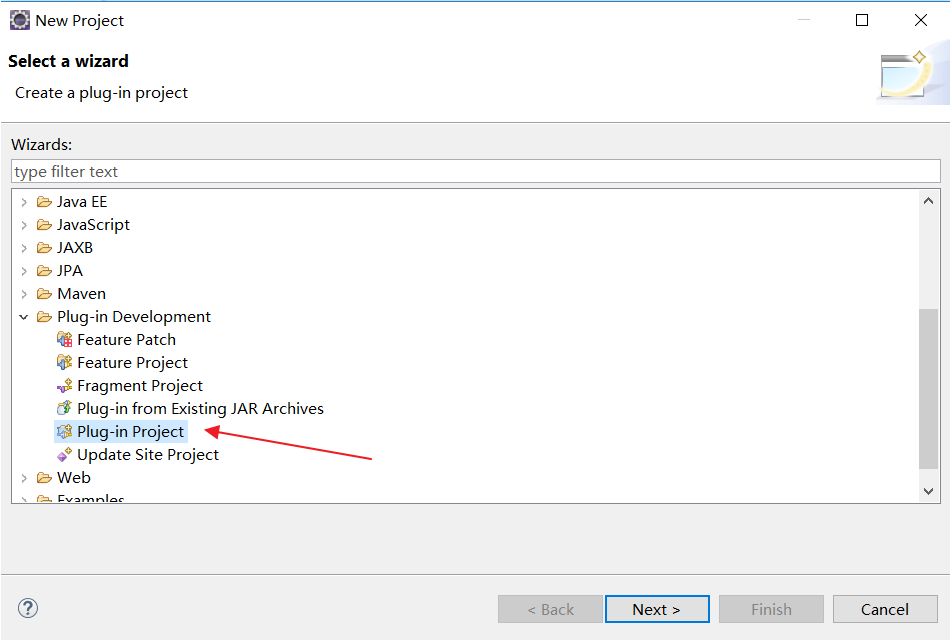
新建插件工程
-
新建工程
-
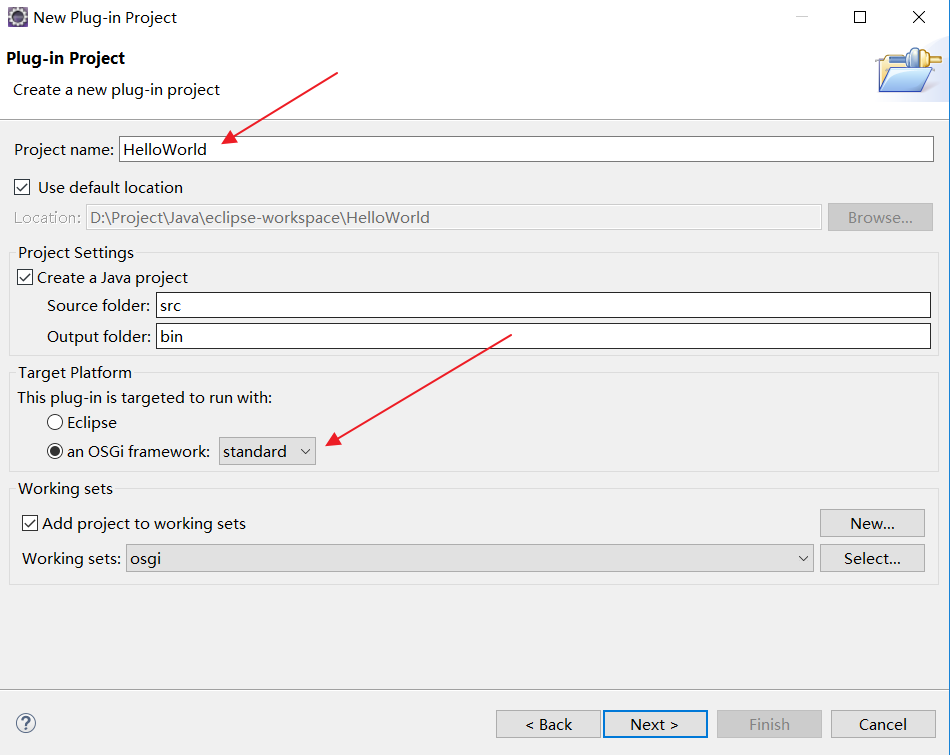
点击Next,配置相关选项
-
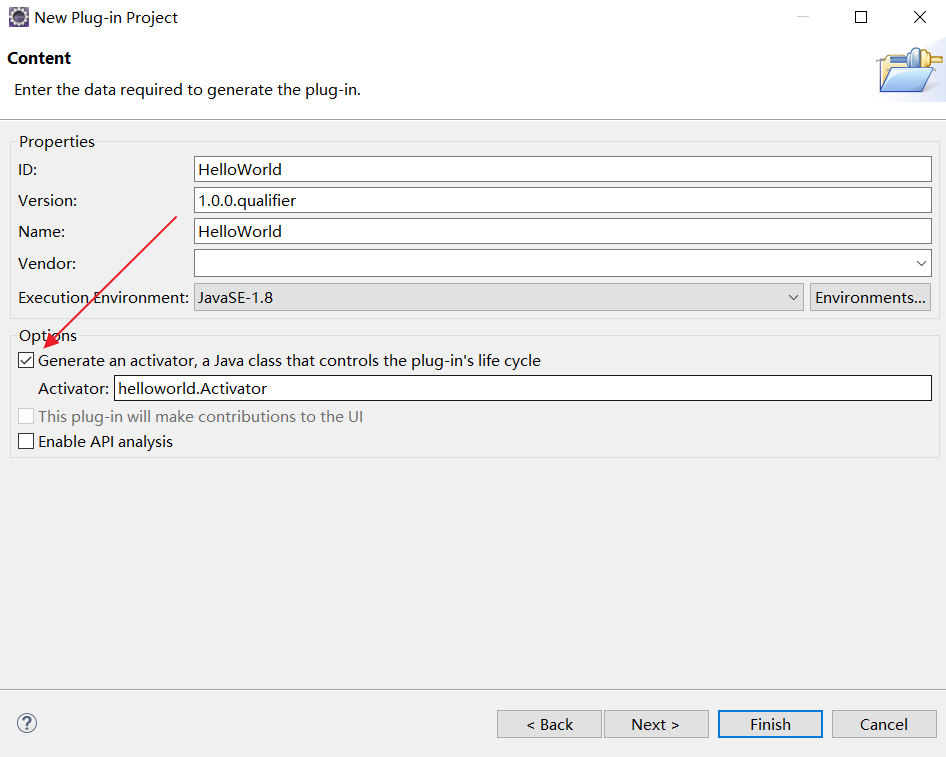
点击Next
-
点击Finish工程建立结束(如果需要使用模板建立,可以继续下一步选择模板)
-
-
在
Activator.java编写代码1
2
3
4
5
6
7
8
9
10
11
12
13
14
15
16
17
18
19public class implements BundleActivator {
private static BundleContext context;
static BundleContext getContext() {
return context;
}
public void start(BundleContext bundleContext) throws Exception {
Activator.context = bundleContext;
System.out.println("Hello world start");
}
public void stop(BundleContext bundleContext) throws Exception {
Activator.context = null;
System.out.println("Hello world stop");
}
}
-
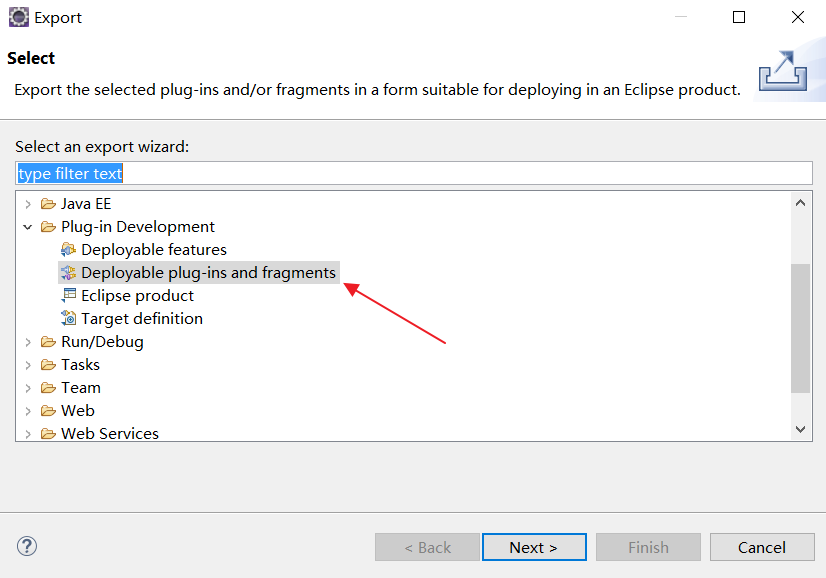
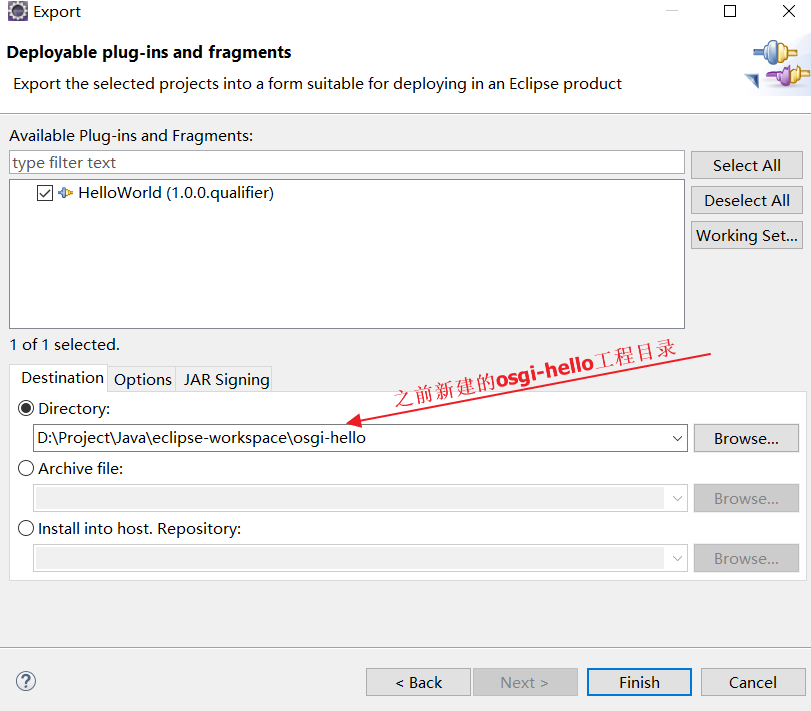
导出
工程右键选择导出功能,找到相应选项
-
点击Next,配置如下
-
刷新
osgi-hello,根目录会自动生成一个plugins目录存放bundle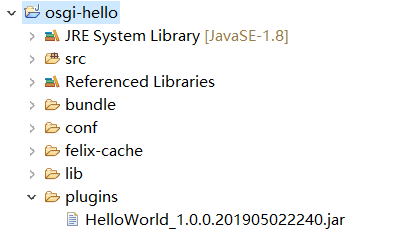
-
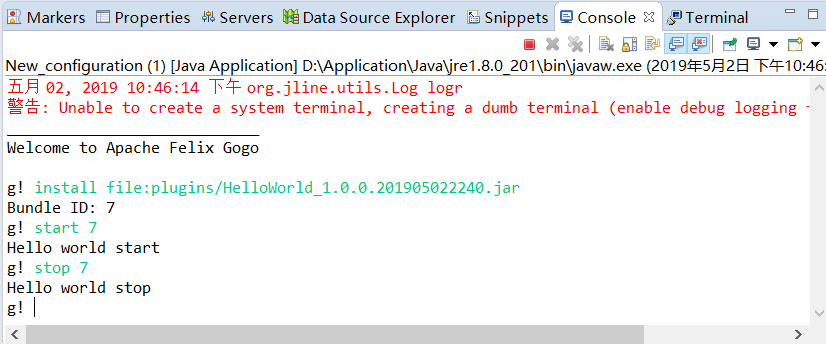
点击运行(一定要选择之前新建的felix_configuration)
依次按照图中指令进行操作可以看得到相应的语句被打印,说明bundle正常工作
如何让bundle自动被调用执行
-
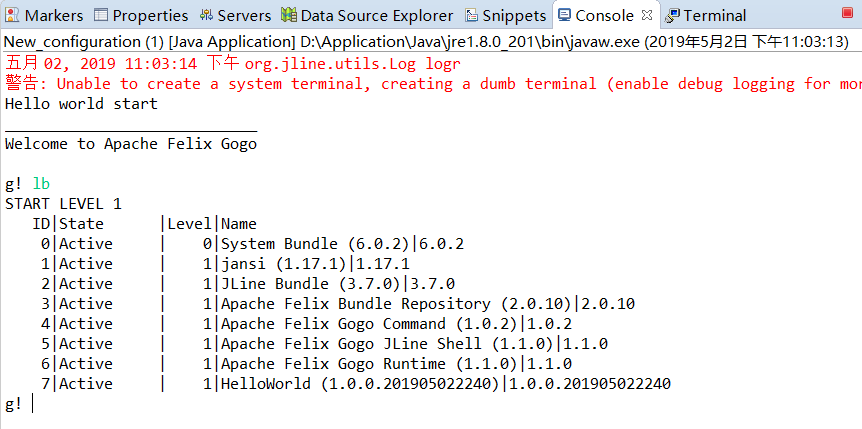
修改配置文件
config.properties找到
felix.auto.start.1配置选项,设置其值为插件路径,点击运行,结果如下,可见插件自动运行
多个bundle通过以下方式隔开:
1
2
felix.auto.start.1=file:plugins/HelloWorld_1.0.0.201905022240.jar
file:plugins/hello2_1.0.0.201905022311.jar -
常用指令
-
lb:查看所有bundle以及状态
-


近期评论