
1.Open the File-New Project, choose Java Web in Categories, and Web Application in Project, then Next.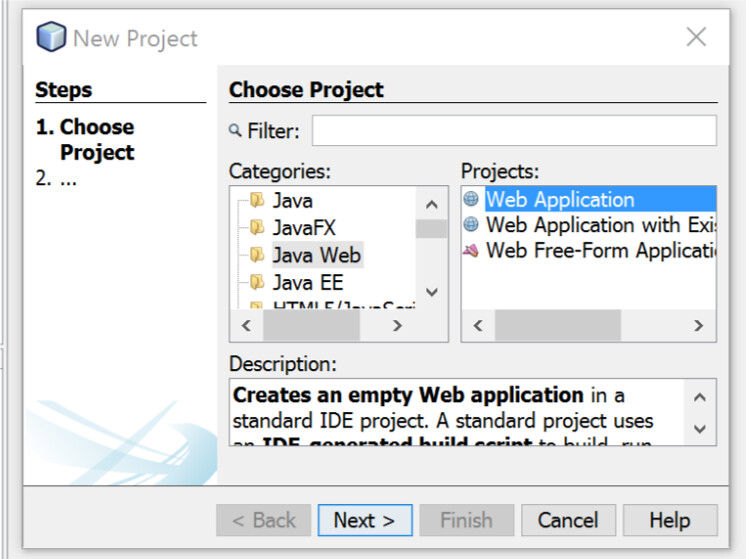
2.Give the project a name, mine is Test1. Then Next directly.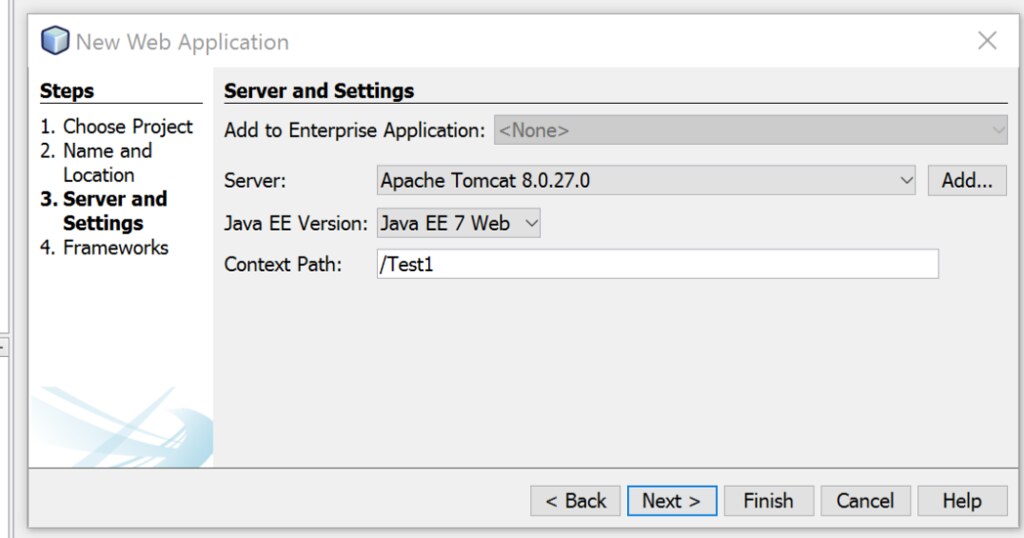
3.The Server choose “Apache Tomcat 8.0”. Then Next.
4.You should set your tomcat information.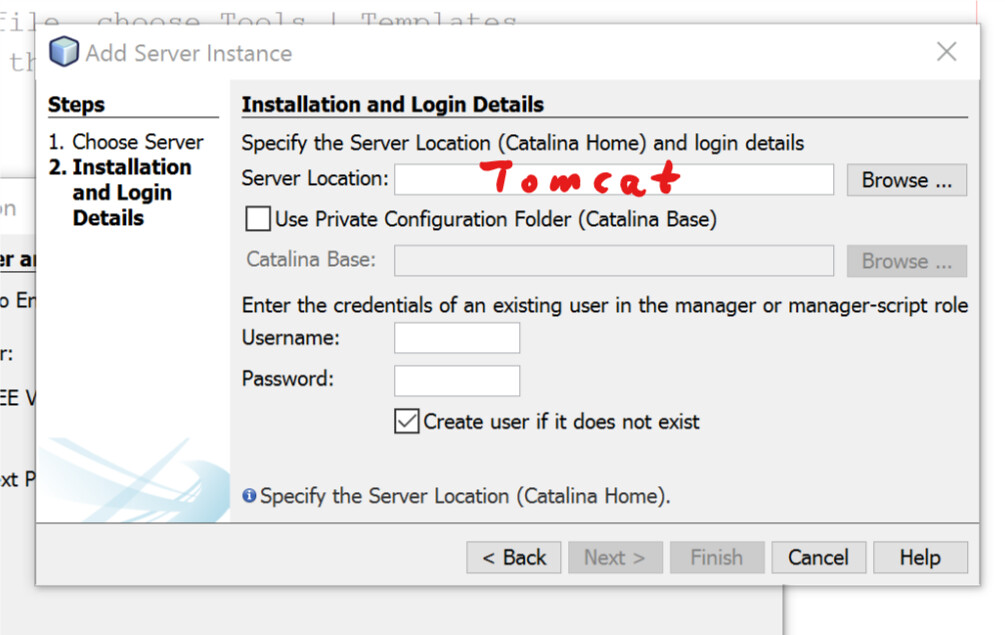
Like that.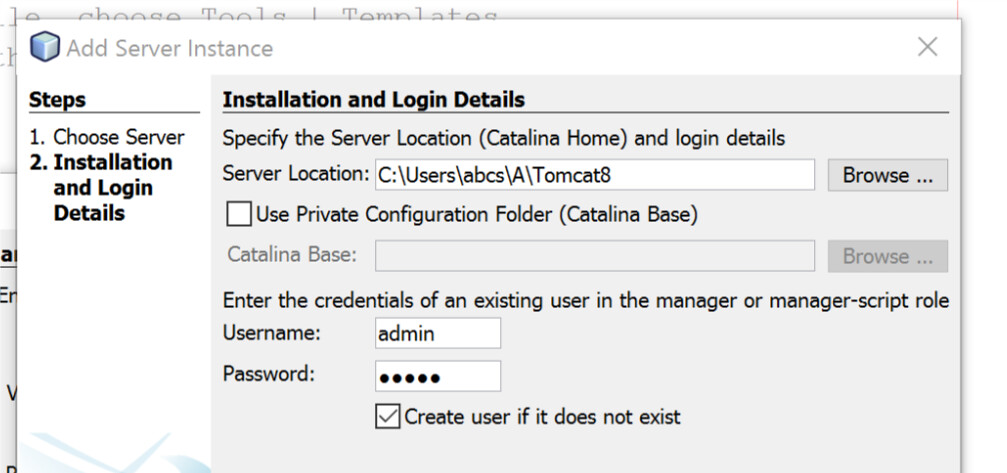
If your address is not right, it will show the words in red.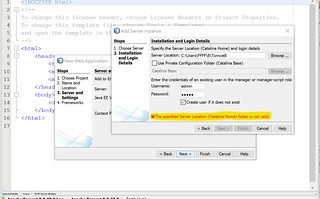
5.Finish.
6.You can see a file on the Projects tab, and right click it, choose New - Servlet.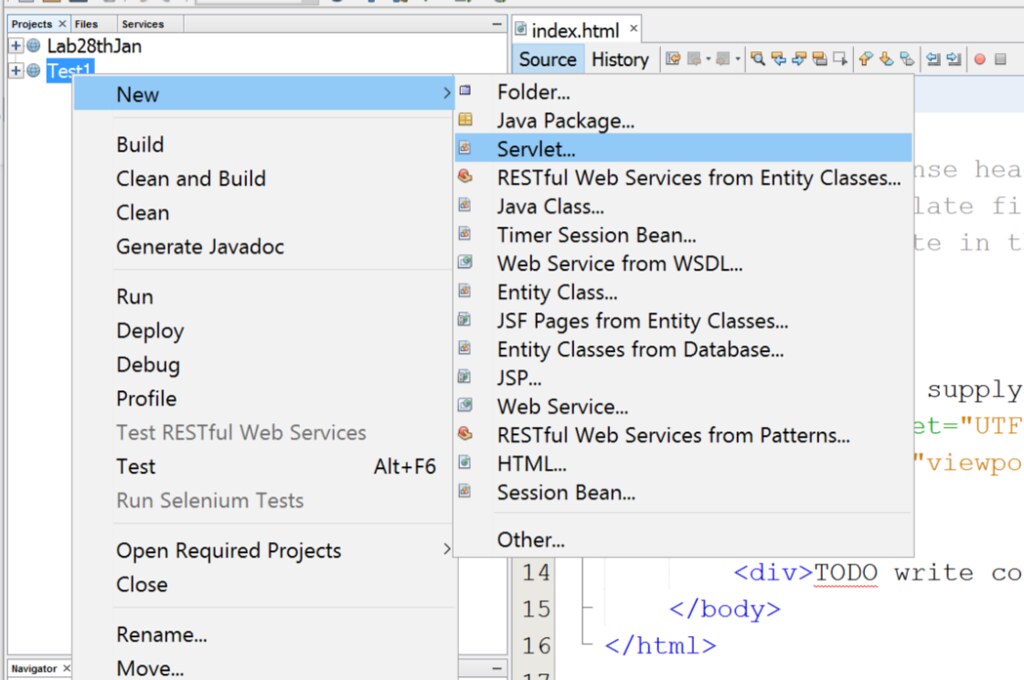
Enter the Class Name, mine is named Quiz, and you’d better enter a Package Name.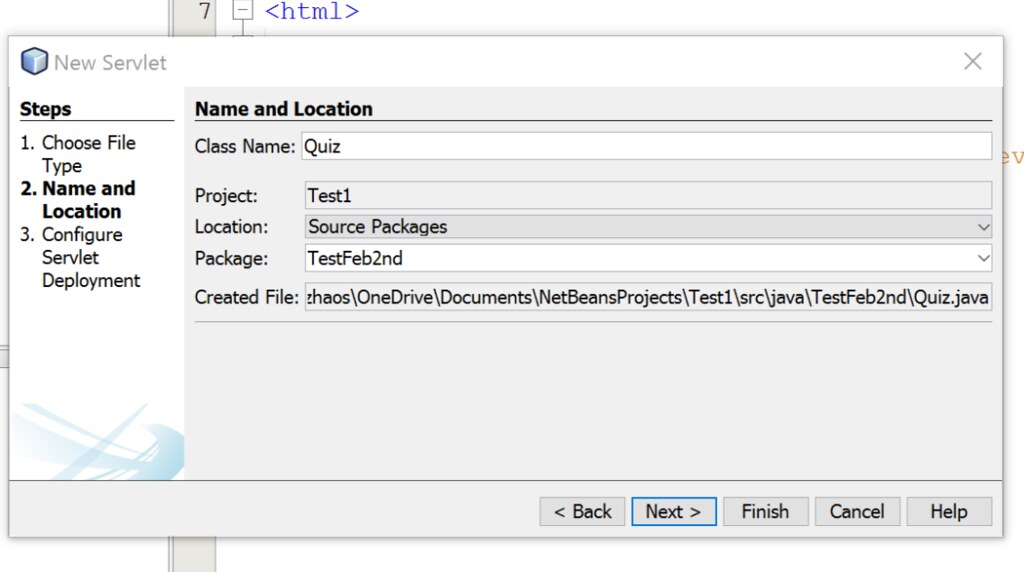
7.Next. First, you should choose the checkbox “Add information to deployment descriptor(web.xml)”, so that the netbeans will help you create the web.xml, and you don’t need to write it by yourself.
And you can change the Servlet Name or URL Pattern here, but I prefer not, so I won’t introduce that here.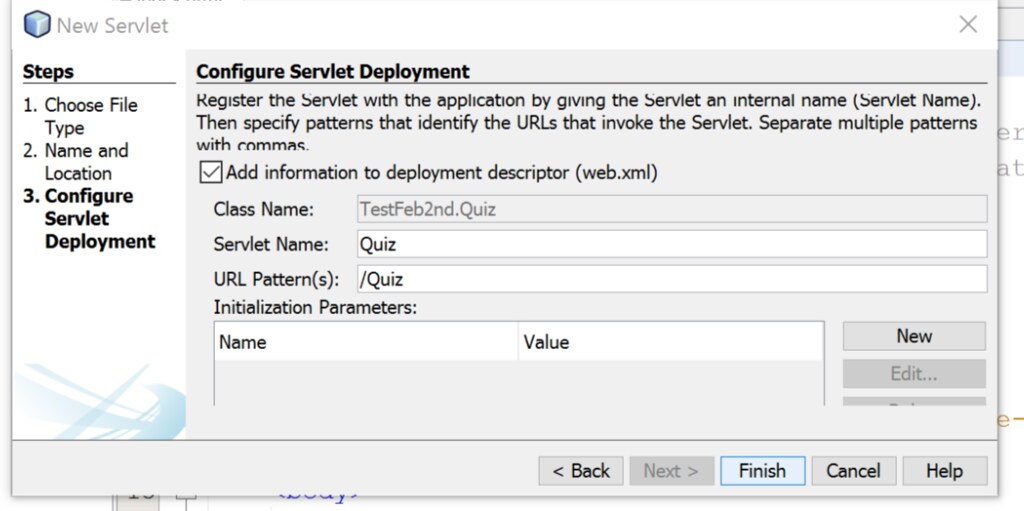
Finish.
8.Now you can see the Quiz.java, that’s the servlet file. You also can change your url-pattern in the web.xml, and that’s the name you enter in the browser, so, remember it, don’t mix it.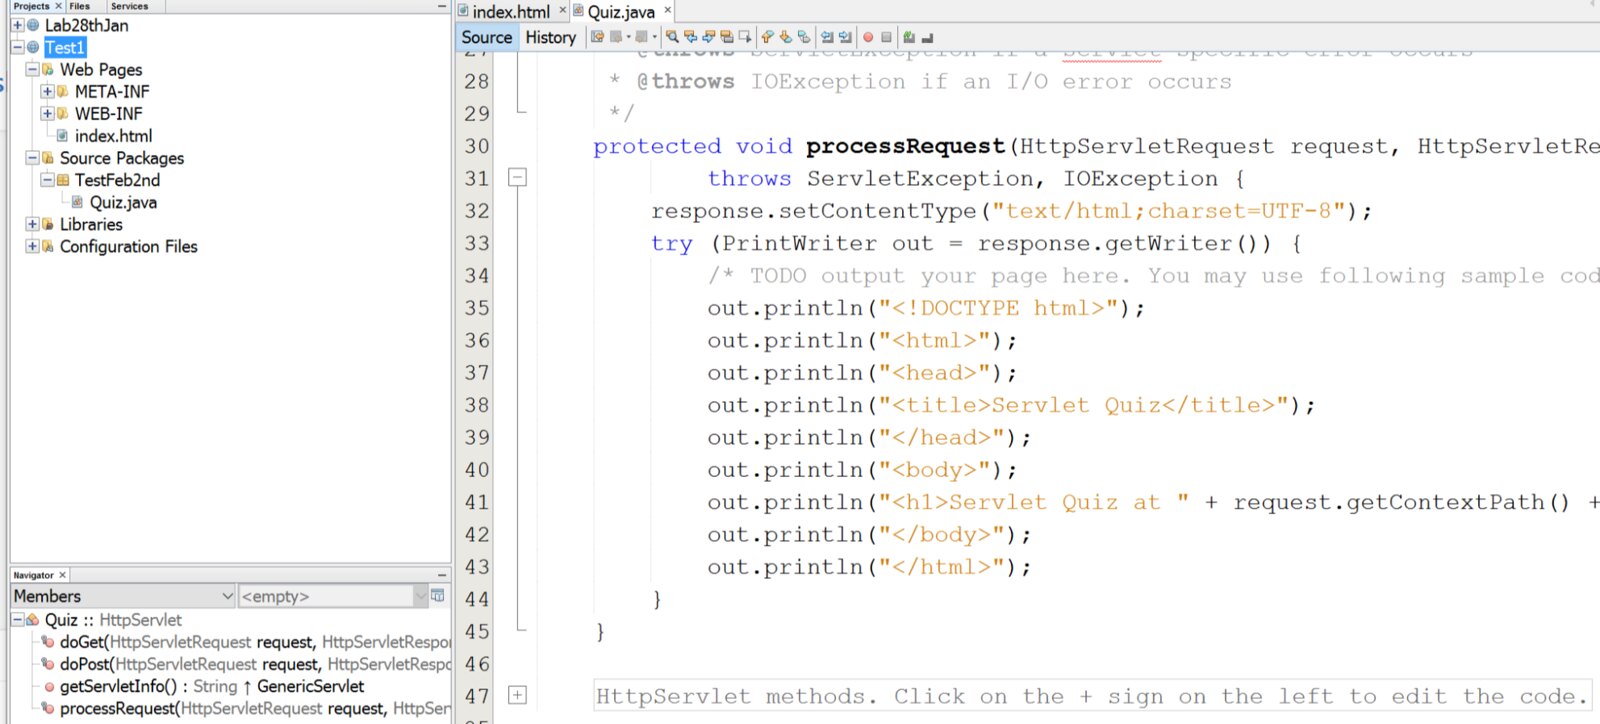
9.Run the project.
Or
You can first open the Service near the Projects & Files. Open the Servers here, 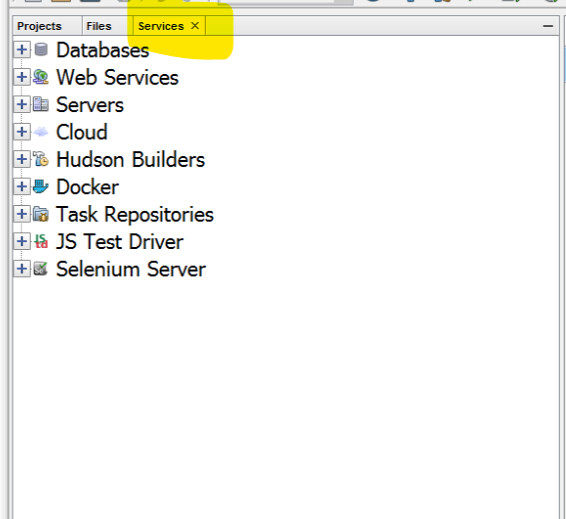 and right click the Apache Tomcat 8.0, click the Start.
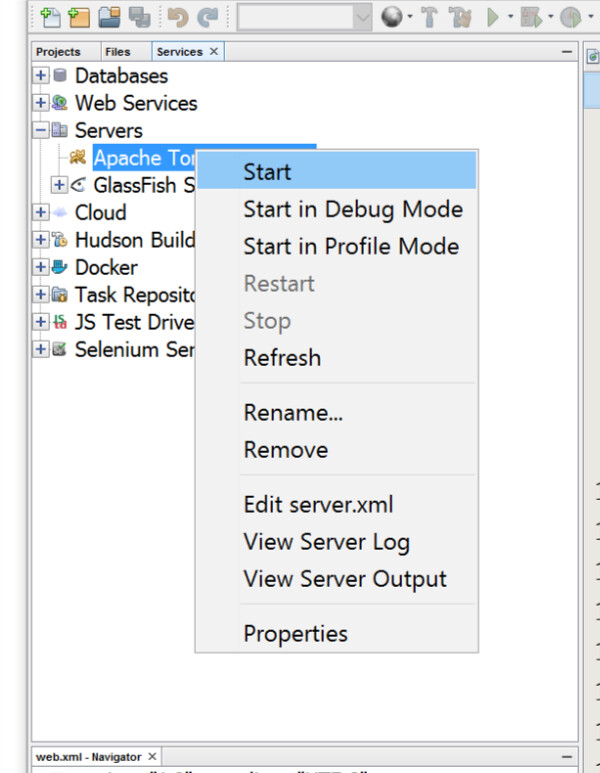
Then, you can see this page.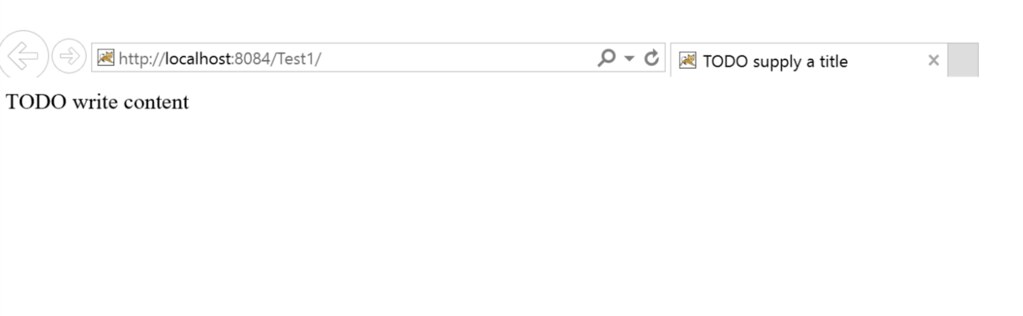
10.Text your url-pattern next in the browser, like that:
http://localhost:8084/Test1/Quiz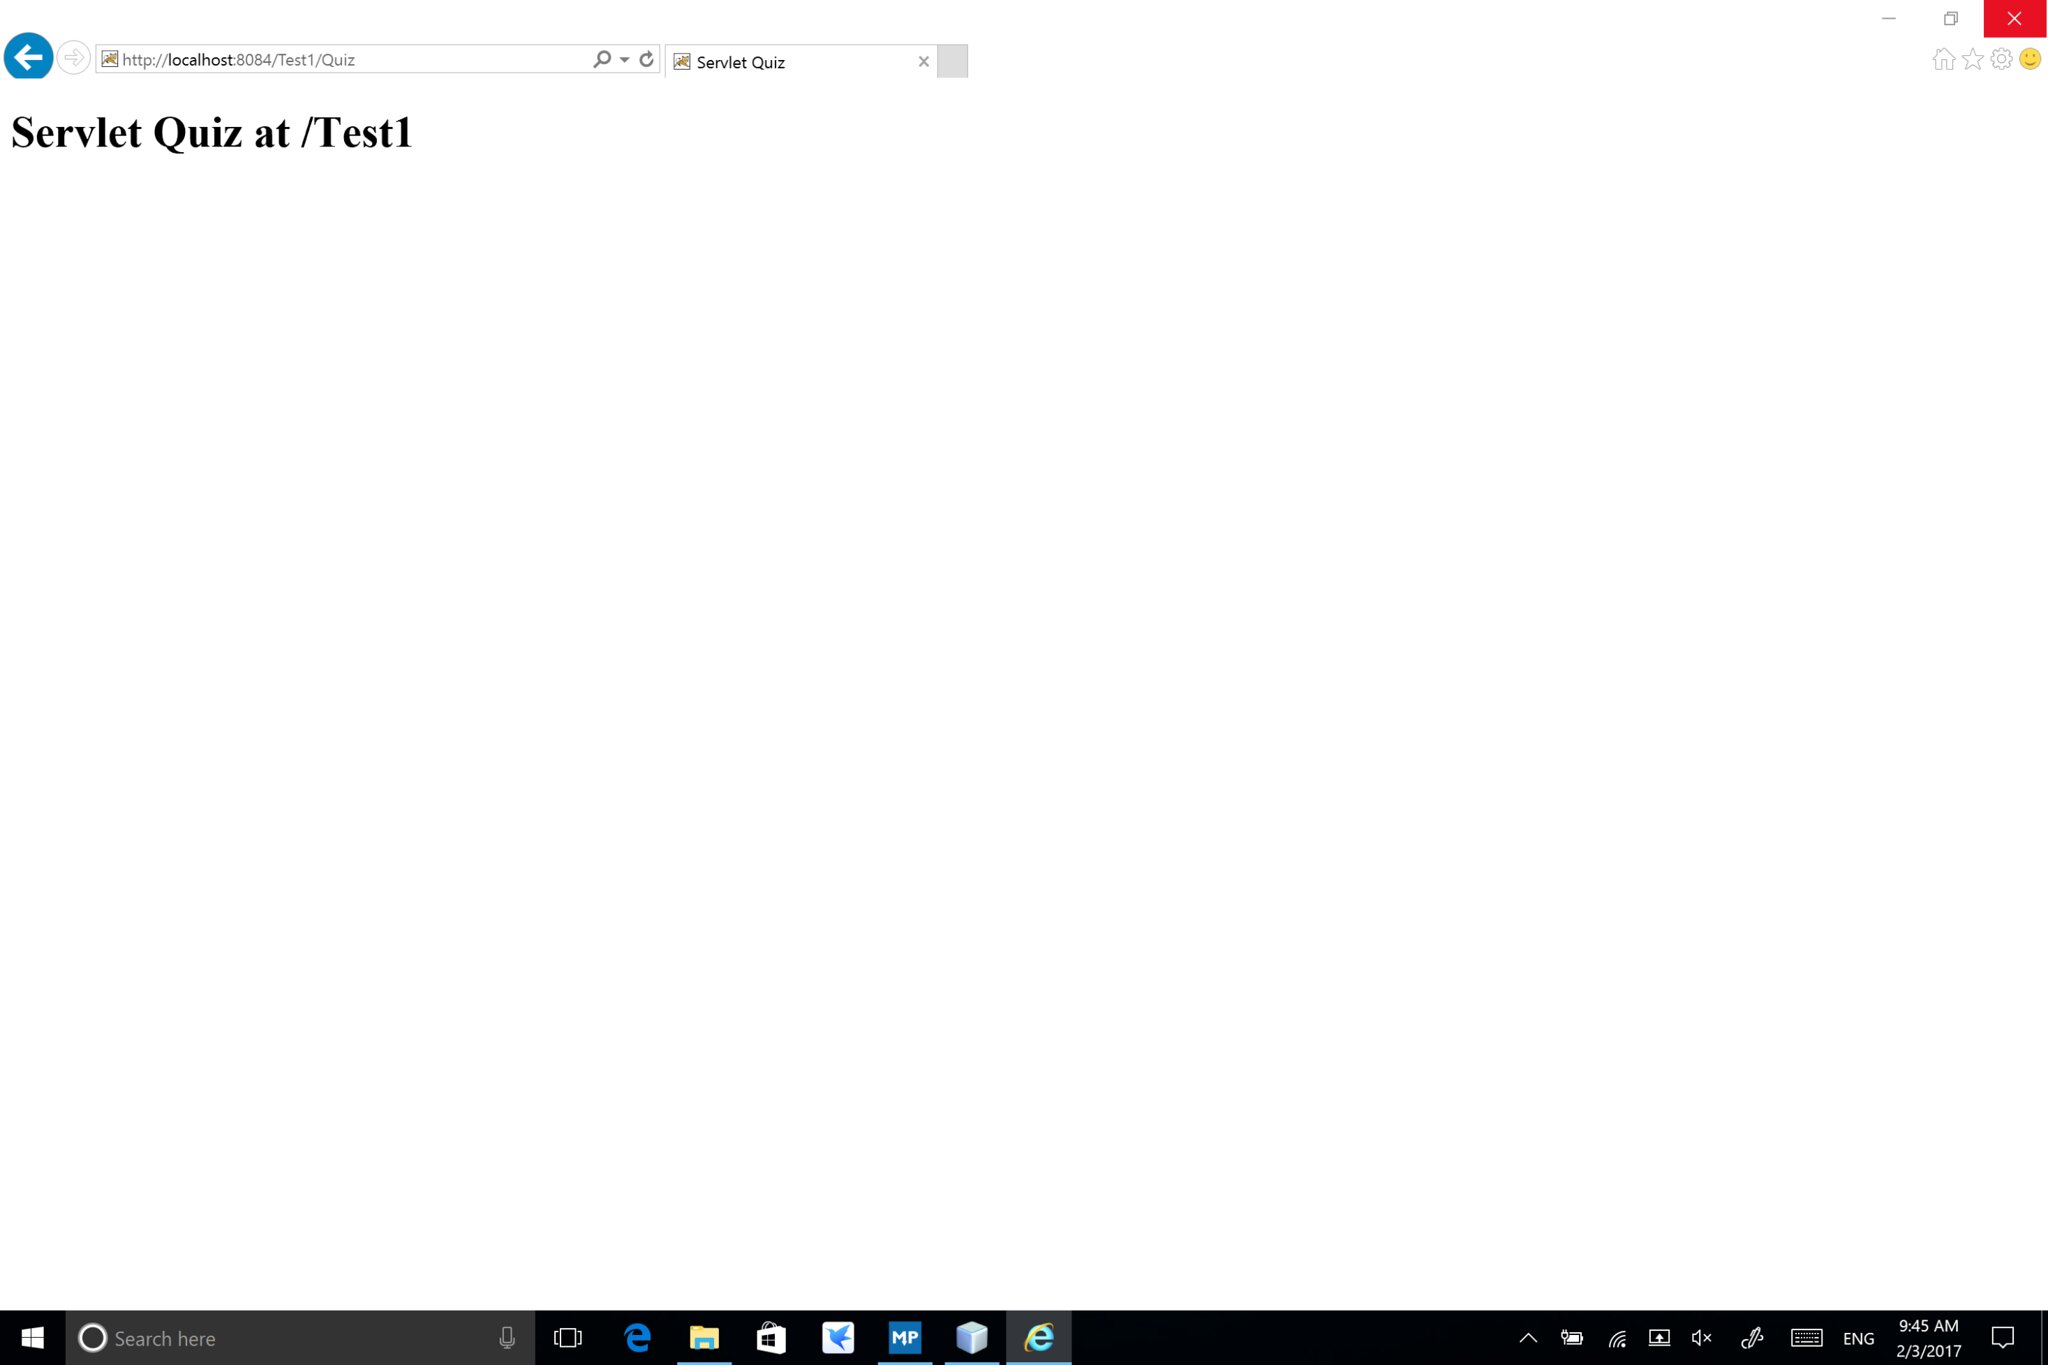
Your port maybe not be 8084, that’s okay, but if you can’t open the first page or that page, please change your port in your tomcat’s setting.


近期评论